Sunday, November 25, 2012
Time Out
I'm taking a time out from blogging, not because I want to but because I
have to. Apparently, I have used up all my free photo quota through
Picasa Web, where blogspot photos are stored. Until I figure out how to
post pictures again, I will be on hiatus. But don't worry, when I come
back I will play some serious catch up. You won't miss a thing. So
until then.....

Friday, November 2, 2012
Marshmallows instead of frosting
I'm excited to be joining my sistas on this great idea blog! My first contribution here is a yummy and beyond simple cupcake.
For family fun night we baked chocolate cupcakes from a box. My kids think using the electric mixer is the coolest thing ever. We popped them in the over and I set the timer for 5-10mins less than the cupcakes needed........DING!
Now time to teach you the magic trick. You open the oven and add a full size marshmallow to the top of each one and close the door. They will puff up slowly and some will even go golden while you finish cooking your cupcakes.
 DING! Now the cupcakes are finished. Press down on each marshmallow with two fingers and place 4 chocolate chips in the center. I waited a little too long before adding the chocolate chips. I recommend when first pushing down the marshmallow adding them, and then they'll be gooey and melt into your marshmallow center.
 and VOILA! You're done! No waiting to frost, and no waiting to eat and enjoy! They look marvelous and taste delish.
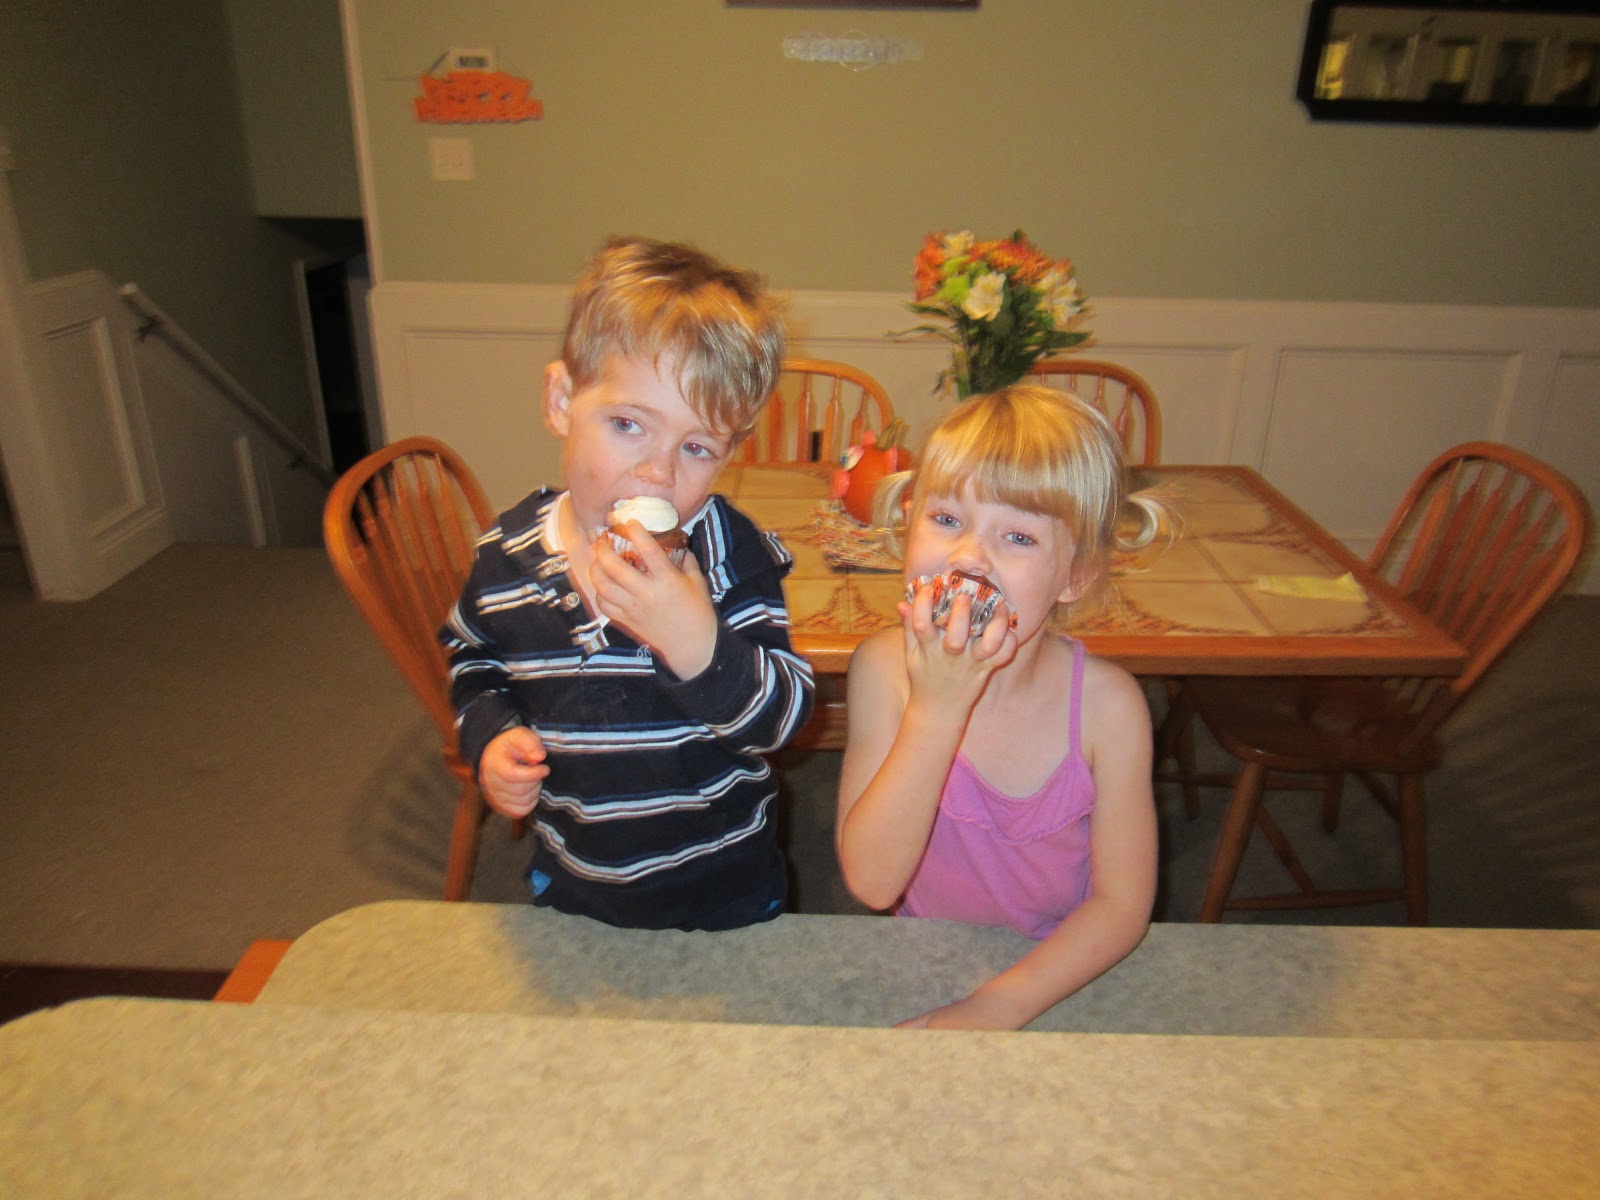
 We thoroughly enjoyed them!
 Let me know what you think. And I'd love to hear what other items you might place in the center of your marshmallow.
For family fun night we baked chocolate cupcakes from a box. My kids think using the electric mixer is the coolest thing ever. We popped them in the over and I set the timer for 5-10mins less than the cupcakes needed........DING!
Now time to teach you the magic trick. You open the oven and add a full size marshmallow to the top of each one and close the door. They will puff up slowly and some will even go golden while you finish cooking your cupcakes.


Halloween Hits and Misses
So, on Halloween I showed you my hastily-put-together-but-still-super-awesome Halloween Ribbon Wreath. Well, apparently that really got me in the Halloween mood. As a result, I spent all of Halloween trying out new things. Some worked, some not so much.
When my kids got home from school, we carved our pumpkins. I got them all prepped, so I wouldn't have to scoop all the innards and waste time. While scooping the innards, I decided that I was going to try roasting pumpkin seeds for the first time (I lied a little, I actually decided earlier in the day when I was coming up with a last minute Halloween dinner and searching recipes online. I saw a tutorial from Betty Crocker.com on how to do it, so I figured I'd give it a try...confession over). Anyway, I followed the directions to a T, yet they didn't turn out. They still tasted good, but they were soggy and greasy. A result of undercooking and using too much oil. The next day, I decided that I would try to right my wrong by re-roasting them. It almost worked. I ended up cooking them a little too long, so they taste a little burnt. However, I have two more pumpkins that we didn't carve (my girls decorated them with stickers), so I think I may just suck out their guts and try again.
First, you'll want to cut your ripe pumpkin in half (or if your carving it, open your whole in the top). Remove the guts, placing them in a bowl for later.
Next, you'll want to remove all the extra gunk from your seeds. Betty crocker recommends leaving a very little because it adds flavor.
Next, line a pan with aluminum foil (you don't have to do this, but it makes for easier clean-up). Spread your oil all over the pan, then cover with the seeds in a single layer. This is something I'll do differently next time. I think I'll just spray with pan with cooking spray in an attempt to make them less oily/greasy.
Now, Betty Crocker says to cook them for 15-20 @ 300 degrees F. As mentioned above, this wasn't long enough. I read through a few allrecipes (I'm sorry, but I didn't save it, so I can't direct you to the original), and one suggested @325 for 25 minutes. This would probably work better. I tried a mix of the two and as I mentioned, it was too long.
Anyway, once we finished pumpkin decorating, I went on to our big festive dinner. I made hot dog mummies, witch hat calzones, and bubbling cauldron cheese dip with bat wing dippers (not the most varied and exciting, but I had to go with things I knew my kids would eat). They all turned out yummy and my kids ate them. Unfortunately, we were in such a hurry to get dinner over with to go trick or treating that I forgot to take pictures. However, let me say that I will definitely make the calzones and dip again. I don't think I will do the mummies. First of all they took a long time to make (having to make dough strips out of crescent rolls, and then wrapping them). But most importantly I'm not too fond of the hot dog/crescent roll combo.
Lastly (once I got the kids out the door with their daddy), I made toilet roll eyes. I heard about this from a friend on facebook. You take a used roll of toilet paper, cut some eyes in them, place a glow stick inside, then hide them in a bush. It creates the effect of having eyes watching trick or treaters from the bushes. However, I don't know if it really worked. You be the judge.
As you can see from the picture, my flash went off and you could see the tp rolls. I'm not sure how it looked to the trick or treaters because I had a steady stream and didn't have time to reexamine them as it got darker or take another picture without the flash. I'm not sure if it worked, but I think I'll try it again next year anyway, just to make sure.
If you are interested in any of the other recipes that I found while attempting to come up with a dinner menu, you can see them on my Halloween Pinterest page.
When my kids got home from school, we carved our pumpkins. I got them all prepped, so I wouldn't have to scoop all the innards and waste time. While scooping the innards, I decided that I was going to try roasting pumpkin seeds for the first time (I lied a little, I actually decided earlier in the day when I was coming up with a last minute Halloween dinner and searching recipes online. I saw a tutorial from Betty Crocker.com on how to do it, so I figured I'd give it a try...confession over). Anyway, I followed the directions to a T, yet they didn't turn out. They still tasted good, but they were soggy and greasy. A result of undercooking and using too much oil. The next day, I decided that I would try to right my wrong by re-roasting them. It almost worked. I ended up cooking them a little too long, so they taste a little burnt. However, I have two more pumpkins that we didn't carve (my girls decorated them with stickers), so I think I may just suck out their guts and try again.
 |
| Supplies: ripe pumpkin, knife, and bowl |
 |
| Just the pumpkin seeds. |
 |
| Ingredients: Fresh pumpkin seed, 1 TB veggie oil (I used olive oil), Kosher Salt |
 |
| This is what your pan should look like. |
 |
| Your roasted pumpkin seeds should be a nice golden color. As you can see, mine didn't quite make it. |
 |
| See these pumpkins. We didn't carve them because my daughters decorated them (quite well, I might add) with stickers. They will be my next test subjects. |
Lastly (once I got the kids out the door with their daddy), I made toilet roll eyes. I heard about this from a friend on facebook. You take a used roll of toilet paper, cut some eyes in them, place a glow stick inside, then hide them in a bush. It creates the effect of having eyes watching trick or treaters from the bushes. However, I don't know if it really worked. You be the judge.
 |
| All you need are empty toilet paper rolls and glow sticks |
 |
| Cut some eye holes |
 |
| Add your activated glow sticks |
 |
| And hide them in your bushes. |
If you are interested in any of the other recipes that I found while attempting to come up with a dinner menu, you can see them on my Halloween Pinterest page.
Wednesday, October 31, 2012
Candy Corn Cookies and R.I.P. Pudding Cups
I love making goodies for the holidays and Halloween was no exception. Here's what I made. And thanks to Pinterest for sucking all creativity out of me but still giving me great ideas of cool things to make.
First are the Candy Corn Cookies. I made some sugar cookie dough from scratch but messed up somewhere so I had to run to the store and buy some premade cookie dough. Thanks Pillsbury for saving the day. I dyed the dough orange and then used a knife to cut out triangles. I have a box of 101 cookie cutters and you would think it would have a triangle shaped one but no.

Then I baked them at 350° for 10 mins. That was too long (they were too crispy) so for my second batch I only cooked it for 8 mins. Perfection.

I melted some colored chocolate from Michaels and dipped the wide end of the cookie in yellow and the small end in white to make it look like a piece of Candy Corn.

I put them on parchment paper and then into the freezer to harden the chocolate quickly, then put them in some cute goodies bags, also from Michaels, and last into a little tote, from the $1 section at Target. And now you have the perfect little goodie to deliver to your friends.


Now for the R.I.P. Pudding Cups. I bought 4 boxes of instant chocolate pudding. I made the pudding and then divided it evenly into clear plastic cups. I got 12 out it. There would have been more but I was generous to my little girl and let her have some. I used a paper towel to wipe up the edges since I was a little sloppy in getting the pudding into the cups. I stored the pudding cups in the fridge to keep it cool while I prepared the rest.

I used Chocolate Cream Oreos for the dirt. The brown seemed more fitting for a graveyard look. I placed them in a zip lock bag and crushed them with the wrong end of a hammer.

Then I used Mint Chocolate Milano cookies for the headstones. I bought writing food gel from Michaels and wrote RIP on the tops of the cookies.

Last I put it all together. Sprinkle the crumbled Oreos onto the pudding. Stick the Milano cookies into the Oreo crumbs and partially into the pudding for more stability. And now you have some spooky and tasty treats.

First are the Candy Corn Cookies. I made some sugar cookie dough from scratch but messed up somewhere so I had to run to the store and buy some premade cookie dough. Thanks Pillsbury for saving the day. I dyed the dough orange and then used a knife to cut out triangles. I have a box of 101 cookie cutters and you would think it would have a triangle shaped one but no.

Then I baked them at 350° for 10 mins. That was too long (they were too crispy) so for my second batch I only cooked it for 8 mins. Perfection.

I melted some colored chocolate from Michaels and dipped the wide end of the cookie in yellow and the small end in white to make it look like a piece of Candy Corn.

I put them on parchment paper and then into the freezer to harden the chocolate quickly, then put them in some cute goodies bags, also from Michaels, and last into a little tote, from the $1 section at Target. And now you have the perfect little goodie to deliver to your friends.


Now for the R.I.P. Pudding Cups. I bought 4 boxes of instant chocolate pudding. I made the pudding and then divided it evenly into clear plastic cups. I got 12 out it. There would have been more but I was generous to my little girl and let her have some. I used a paper towel to wipe up the edges since I was a little sloppy in getting the pudding into the cups. I stored the pudding cups in the fridge to keep it cool while I prepared the rest.

I used Chocolate Cream Oreos for the dirt. The brown seemed more fitting for a graveyard look. I placed them in a zip lock bag and crushed them with the wrong end of a hammer.

Then I used Mint Chocolate Milano cookies for the headstones. I bought writing food gel from Michaels and wrote RIP on the tops of the cookies.

Last I put it all together. Sprinkle the crumbled Oreos onto the pudding. Stick the Milano cookies into the Oreo crumbs and partially into the pudding for more stability. And now you have some spooky and tasty treats.

Halloween Wreath
Okay, I'm actually back to make a real post. Shocking...I know. Anyway, I decided a while back that I wanted to make a Halloween Ribbon Wreath, much like my Valentine's one (you can see the post with instructions here). Unfortunately, I now live in a small town where the only store that sells ribbon is Walmart. And there wasn't much of a selection. So, I bought all the Halloween ribbon they had (plus a straw wreath), but it wasn't enough. Ergo, I put that little project aside and went on with my life for a few weeks. Then I was meeting some friends in the city (an hours drive away), and they were going to Hobby Lobby. Just what I needed! My friend picked up two more rolls of wide Halloween ribbon for me and I was good to go. Unfortunately, life and my increasingly slippery brain got in the way and I completely forgot about my project. That is until yesterday...the day before Halloween. So, I whipped it up yesterday afternoon and last night. And it turned out super cute. This time I did prewrap the wreath in ribbon before I started to glue the ribbons on and it turned out even better (you weren't able to see straw in the gaps like last time).
 |
| All of my items ready to be hot-glued. |
 |
| The finished product (I love how there is just a little bit of green to break up the orange and black) |
 |
| The finished product from further away |
Sunday, October 28, 2012
Ricks Halloween
Let's play a game. I'm going to show you three pictures and you have to figure out how they correlate, okay?


Did you figure it out? If not, maybe this will help.

I hope you figured it out because that's the last clue. My family dressed as Rock, Paper, Scissors for Halloween. I got the idea from Google and then got to work. It was pretty simple and they turned out great, if I do say so myself. So here's what I did.


Happy Halloween!


Did you figure it out? If not, maybe this will help.

I hope you figured it out because that's the last clue. My family dressed as Rock, Paper, Scissors for Halloween. I got the idea from Google and then got to work. It was pretty simple and they turned out great, if I do say so myself. So here's what I did.
For the "Rock" I bought some gray clothes from Walmart. Then I used my friends Cricut machine to make stencils for the words. If you don't have a Cricut or Silhouette or know someone who does, don't fret. Just get some parchment paper and you can trace the words yourself and cut them out. Then iron the paper to your shirt and then paint over it with fabric paint. Allow to dry and then peel off the paper and voila! You have an awesome shirt.

For the "Paper" I bought some poster board at Target and cut it in half. I used a cookie sheet as a ruler to make my lines straight since a ruler wasn't long enough. I think I used some sort of bottle (sorry I can't remember) to make the circles for punched holes in the paper. Then I used a hole punch at the top and tied some ribbon through the two holes so I could wear it around my neck.

And last is the "Scissors." Again I used poster board and just drew a pair of scissors using real ones as a guide. I cut it out and wrapped and taped the bottom half in aluminum foil and painted the handles. I traced a glass bowl to make the center circle, cut it out and then painted and taped it on to the scissors. I traced the edges of the aluminum with a black marker so you could distinguish the top piece from the bottom piece. Again, I used a hole punch and ribbon to tie it around my husband's neck.

Happy Halloween!
Tuesday, October 16, 2012
They're coming!!!
Okay, so I have an exciting announcement for my six readers. I'm expanding ItSeamedGoodtoMe. My sister and my two sisters-in-law are all bloggers. We each have our own blog and read each others' faithfully. Mainly, we blog about our kids. But occasionally, we blog about projects. I found that I wanted to blog about projects a lot, but my family blog is private, so that kind of defeated the purpose. As a result, I created ItSeamedGoodtoMe (I already had the name from my etsy shop). Anyway, I noticed recently that my lovely sisters (I will refer to all three as my sisters) were blogging more and more about fun projects/crafts from around their houses. And I had an epiphany. We should all use this blog for our creative outlets. It would make for more posts, different ideas, and hopefully a wider readership. So, I ran the idea by the sisters. And they were all for it!!! So, now not only do you get my creative outlet, but also my sisters'! I am super excited about it. You may not be excited yet, but you will. Trust me. They're coming!
Subscribe to:
Posts (Atom)